Setting Up Your Deployment
Configuring your Project
Deploying a project with Jetify Cloud requires the following:
- A devbox.json or Dockerfile: If your project contains a
devbox.jsonfile, devbox will automatically generate a Dockerfile that can be used to deploy your application to Jetify Cloud. You can also check in a custom Dockerfile if you want to precisely control how your project is built - A Service Listening on 8080. Jetify automatically forwards requests to port 8080 on your running container, so you will need to ensure that your service is listening to that port. We also recommend setting your service host to
0.0.0.0.
Deploying with a devbox.json
Jetify Cloud can use your devbox.json to generate a Docker container that will install your project dependencies and run your projects. In addition to installing your packages, Jetify will also look for and attempt to run any install, build, and start scripts defined in your devbox.json:
- The install script will run after your base container has been initialized and your Nix packages are installed. This stage should be used to download and build your application's dependencies
- The build script runs after the install stage, and should be used to build or bundle your application.
- The start script will run as your container's entrypoint. This stage should include any commands needed to start and run your application.
Below is an example devbox.json that can be used for a simple Go project in Jetify Cloud:
{
    "packages": [
        "go@1.19.8"
    ],
    "env": {
        "GOPATH": "$HOME/go/",
        "PATH": "$PATH:$HOME/go/bin"
    },
    "shell": {
        "init_hook": [
            "export \"GOROOT=$(go env GOROOT)\""
        ],
        "scripts": {
            "install": "go get ./...",
            "build": "go build -o main.go",
            "start": "go run",
            "run_test": "go run main.go"
        }
    }
}
In this case, Jetify Cloud will first install Devbox and all the packages, then run the install and build scripts (in that order), and the use start as the entrypoint to the application.
You can preview how Jetify will run the project using devbox generate dockerfile --for prod
Deploying with a Custom Dockerfile
If your repo contains a Dockerfile, Jetify Cloud will use that Dockerfile to deploy your service (even if the project also contains a devbox.json). Your Dockerfile should define an entrypoint that Jetify can run upon deploying, as well as listen on port 8080.
Connecting your Repo
Jetify requires you to connect a Github repo in order to deploy your service. To access private repositories, you will need to install the Devbox Cloud Github app in your repository:
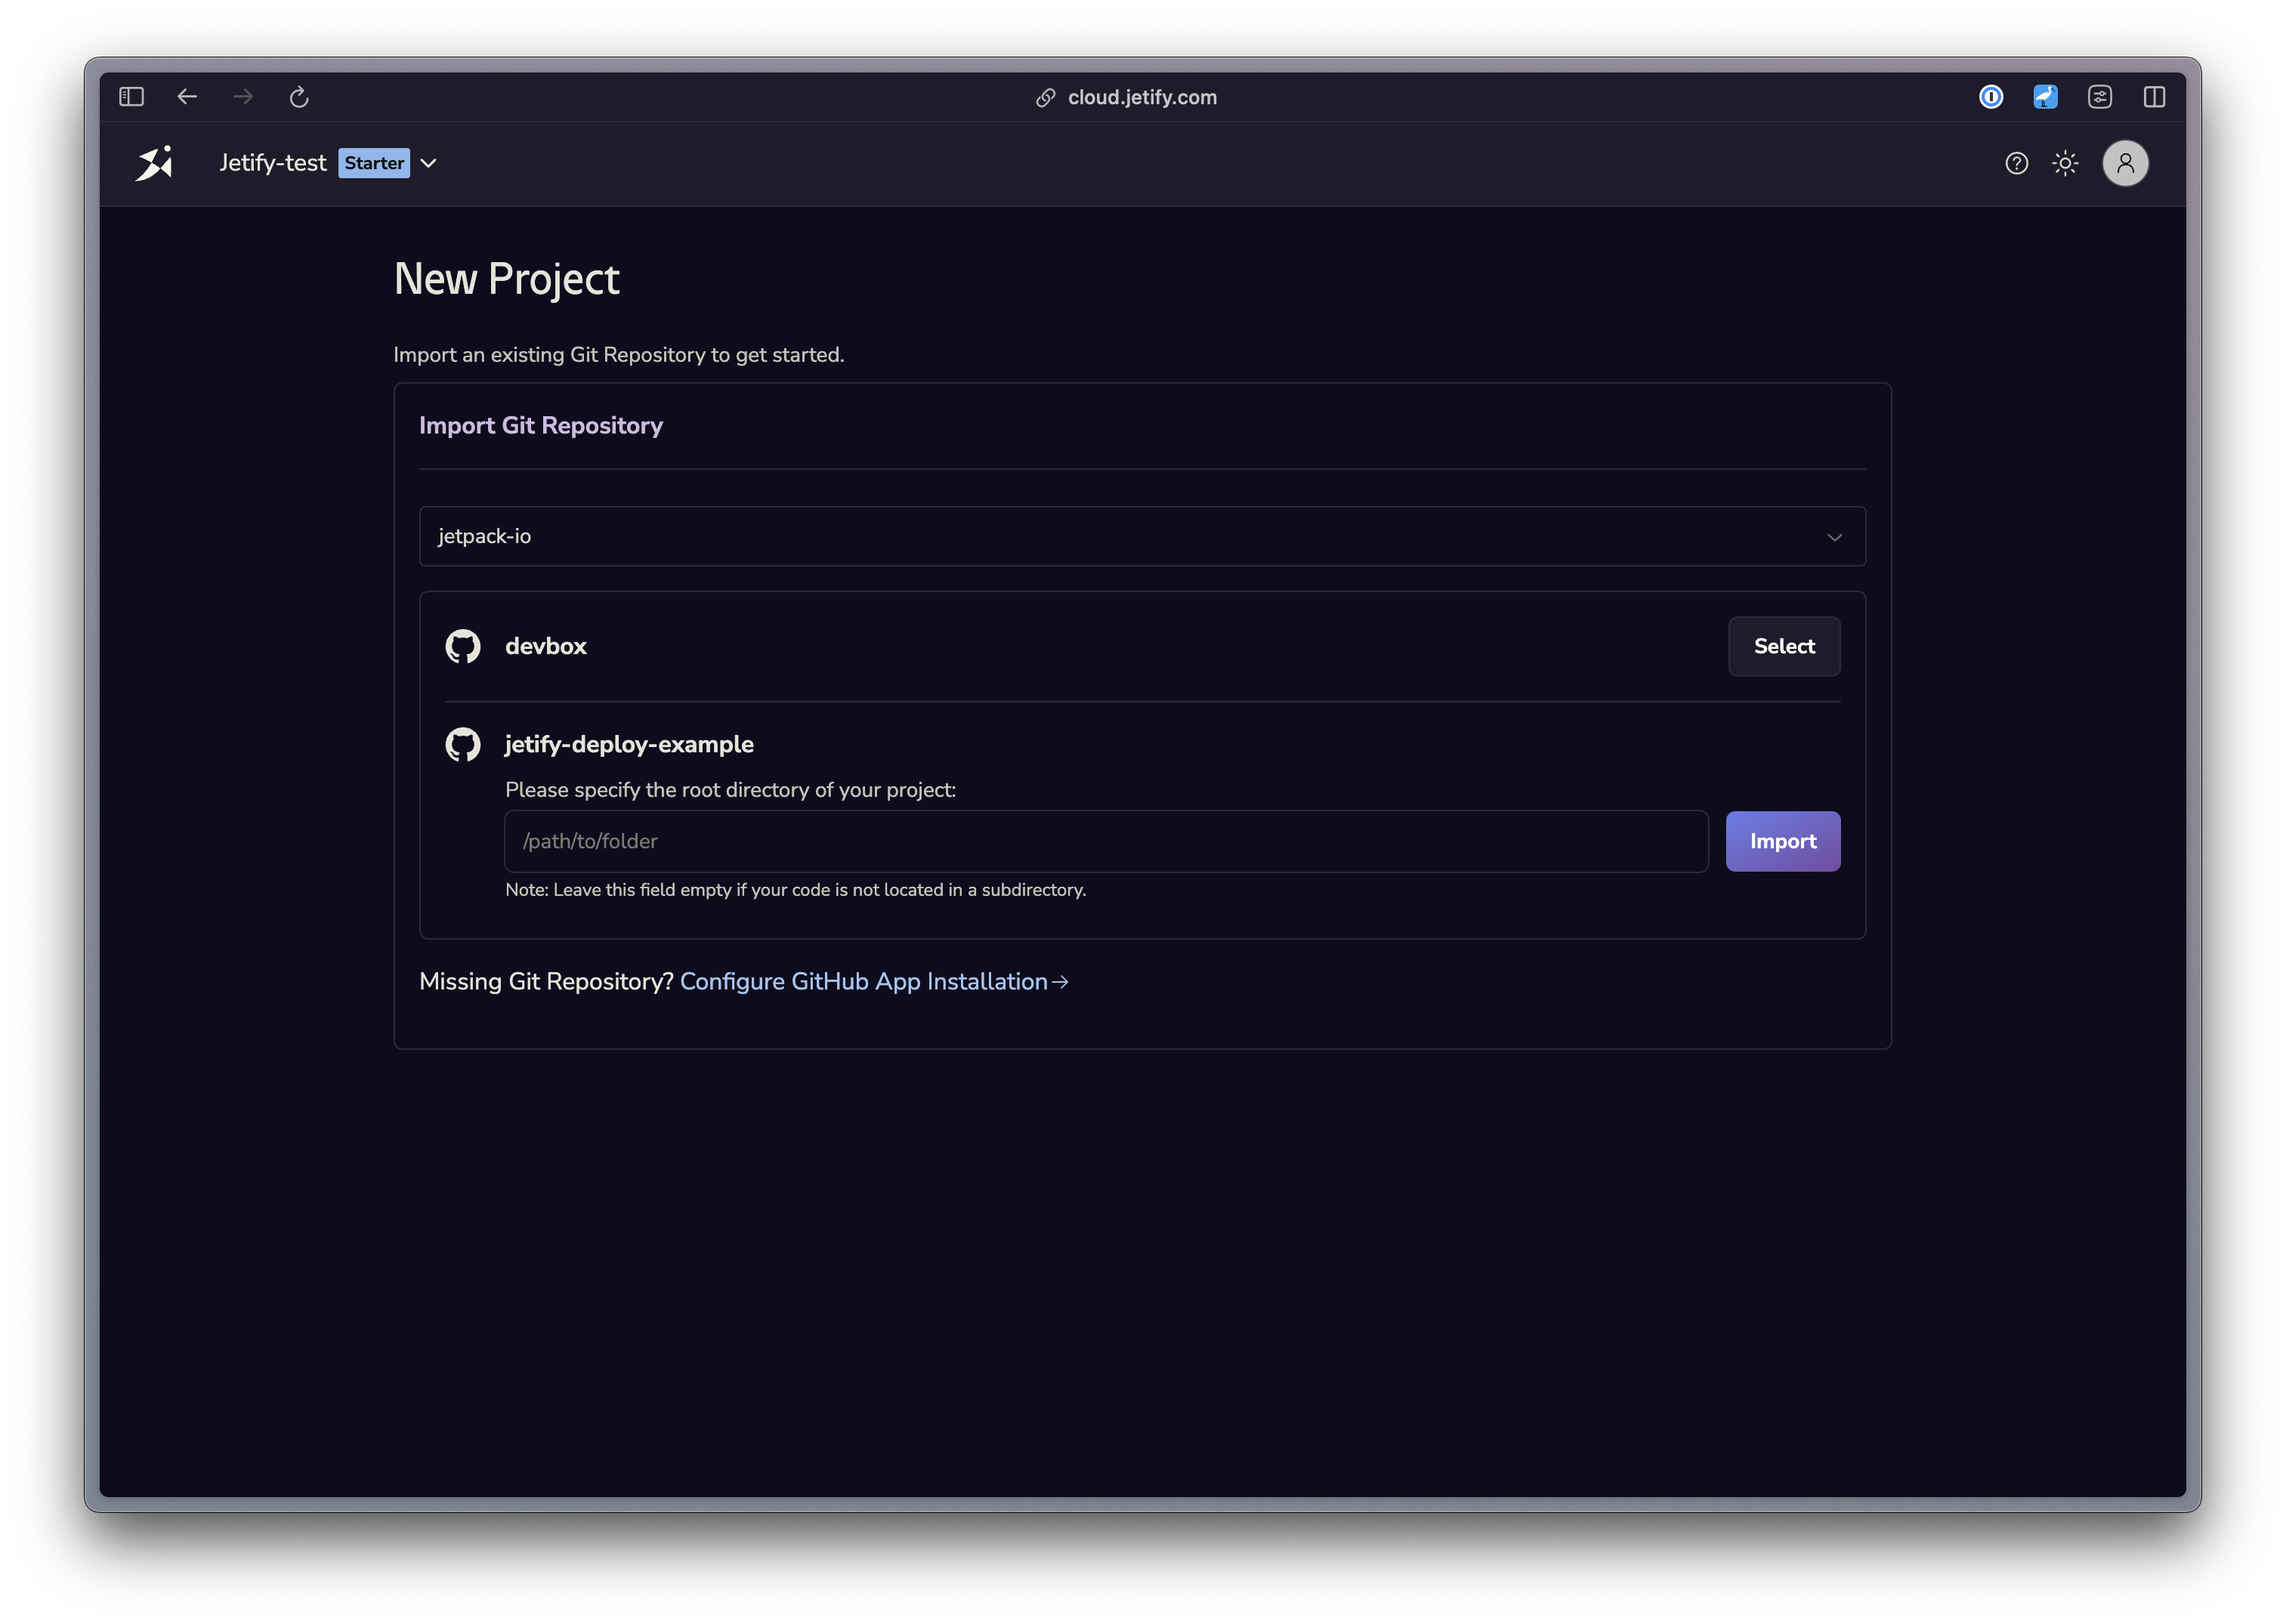
- From the Create Project screen, select Continue with Github to sign in with Github
- Select a Github Org to import your project from. If you are only a member of one org, it will be selected for you by default.
- If this is your first time importing a project from your org, you will need to install the Devbox Cloud app to provide access to your project
- Select a Repository to import your repo. If your project is not in the root directory of your repository, you can specify a subdirectory for Jetify to search for your project.
Choosing an Instance Size
Jetify will default your deployment to the smallest instance size (0.1 CPU + 512MB RAM). To choose a different size:
- Navigate to the Settings tab of your project
- Scroll down to Deployments
- Choose the Machine configuration that best matches your project's needs.
Changes to your instance size will take effect on the next deployment.
Deleting your Project
If you no longer want to deploy your project with Jetify Deploys, you can disable deployments in the Settings tab of your project.