Setting a Custom Domain for your Project
Jetify Cloud will automatically configure a unique, private domain for previewing your deployed application. For production purposes, you will probably want to add a more user friendly domain to route users to your application. Jetify will also configure and issue an SSL certificate for your domain automatically.
info
You will need access to the DNS records for your Domain in order to configure it for Jetify Cloud.
Adding a Custom Domain
- In your project on the Jetify Cloud Dashboard, select Settings
- Scroll down to the Custom Domain section on the settings page
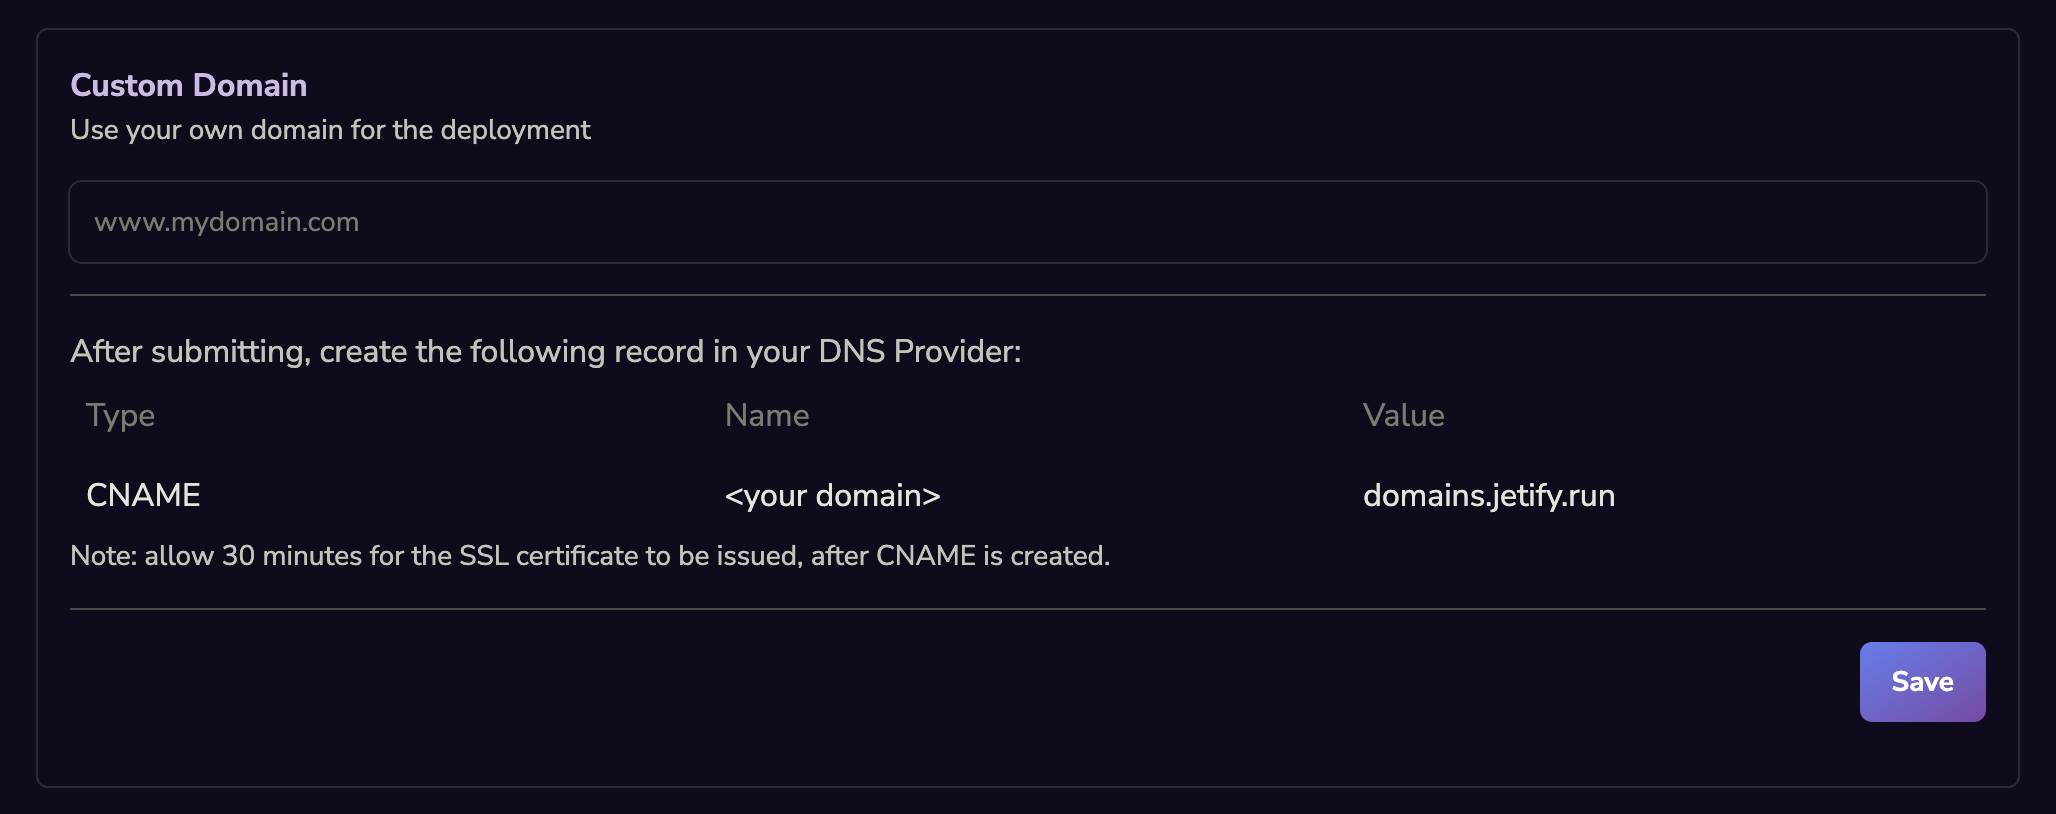
- Enter the custom domain name that you would like to use for your project
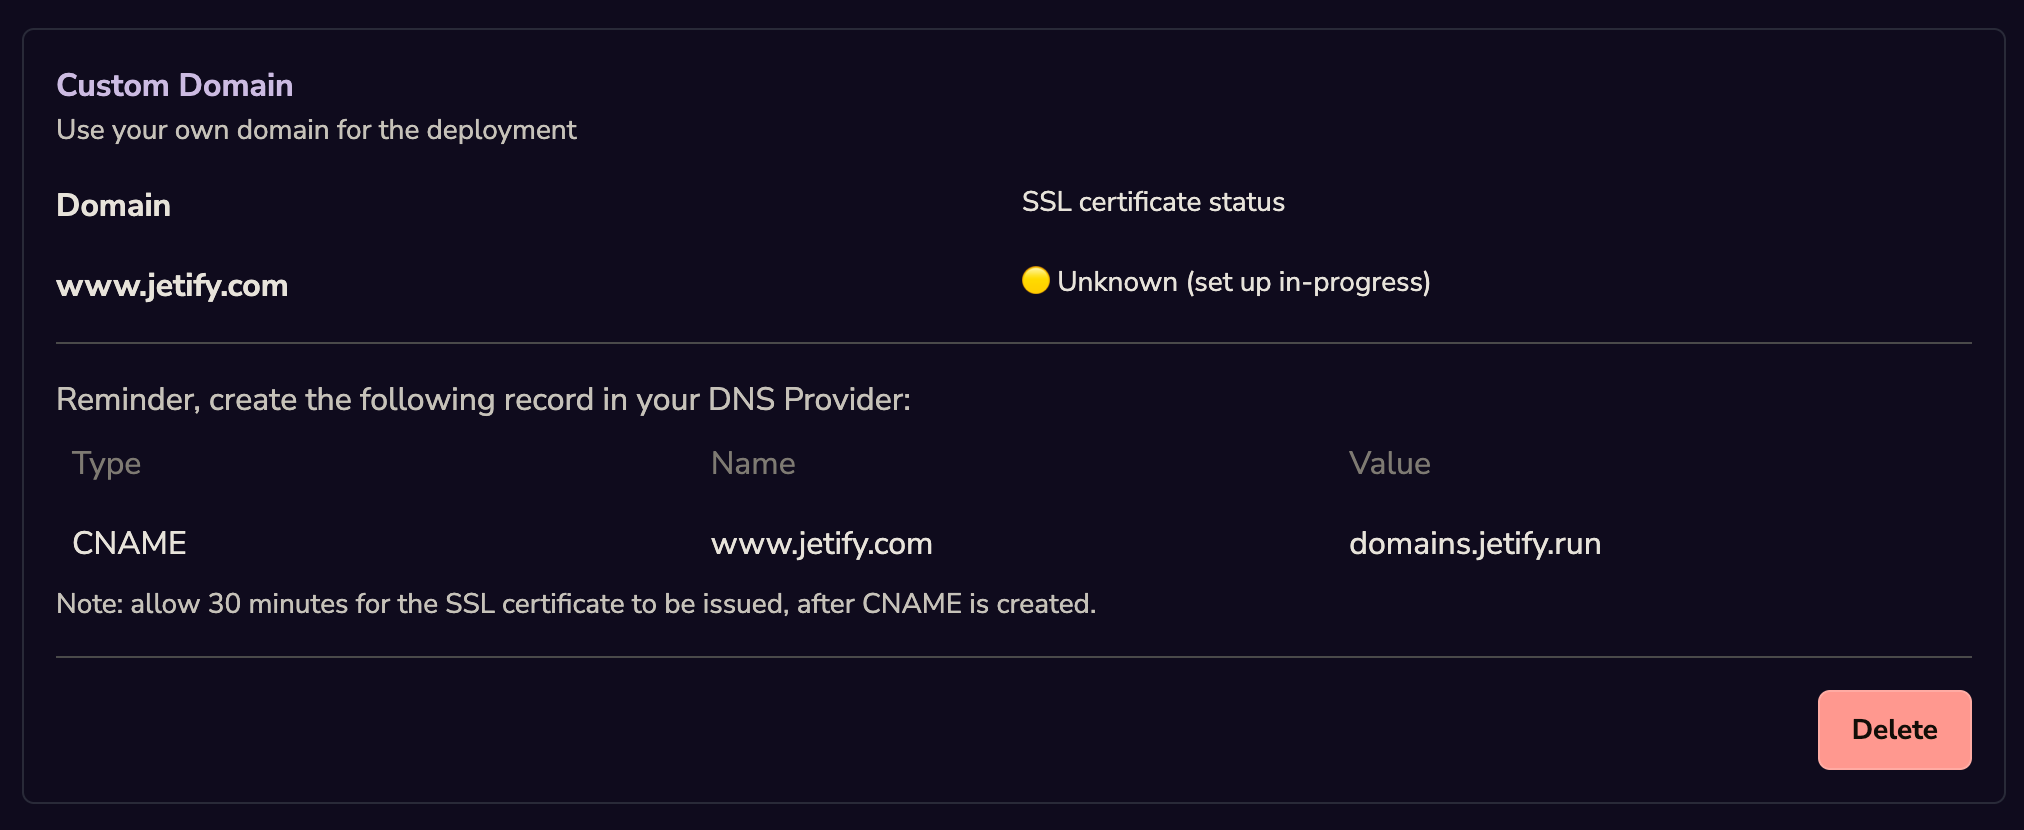
- After you click confirm, your custom domain will be set in a pending state. To validate the domain, you will need to add a record to your DNS provider:
- Once the correct records have been added to your DNS provider, your Custom Domain will display an Issued status:
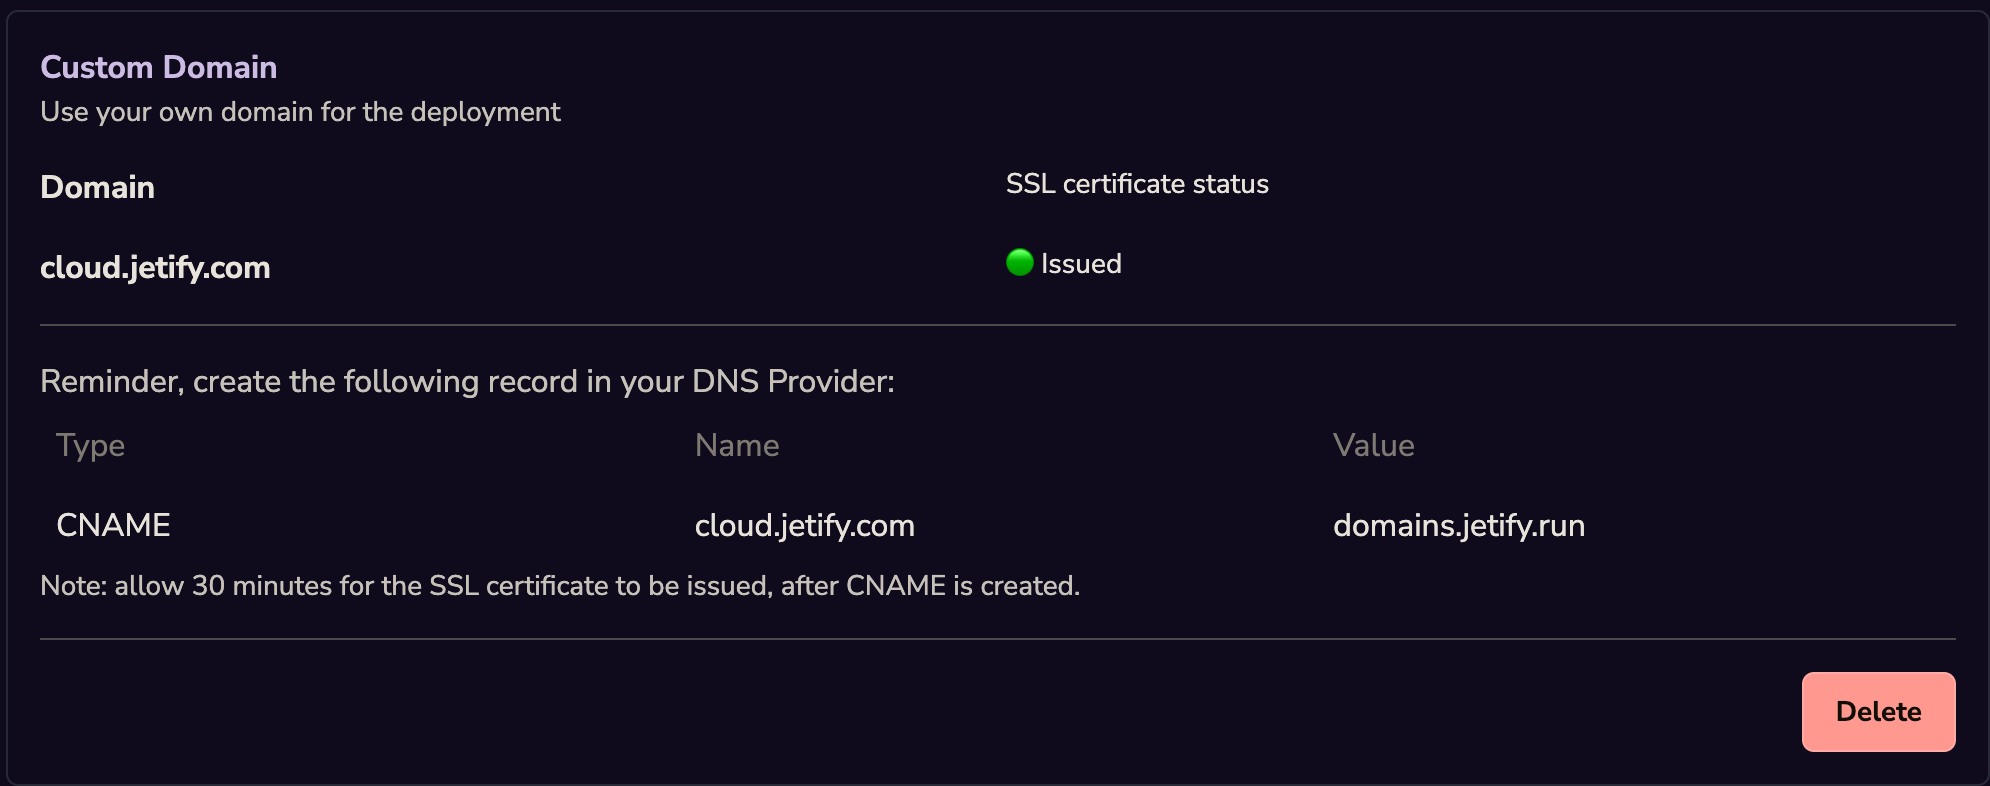
Removing a Custom Domain
You can remove a custom domain by clicking the Delete button. This will remove the domain from your project. Note that after removing the domain, you may want to also clean up your DNS records.